Caramel Apple Galette
Honestly you guys, I’ve avoided any type of “pie” dessert for the LONGEST time. This is probably a shocker for a baking gal like me. Apple pie is typically in any baker’s repertoire, right? But I’ve had some disastrous—and I mean disastrous—encounters with pie back in the ole amateur baking days. Since then I’ve veered away from the pie realm of the baking world.
But then one day it hit me. I had a craving. And that craving was for…apple pie. *Gasp*
I could’ve gone full in and made an entire pie. But the pie disasters of the past + a desire to cut some corners + being exhausted after work ultimately led me down the road to a beautiful discovery: galettes. It seemed like an easier and quicker way to satisfy the apple pie craving. And it WORKED. I now have a tried-and-true recipe for a caramel apple galette.
What is a galette?
This is precisely the question I got when I told my friends I was going to tackle an apple galette next on the blog. Officially, a galette is a “flat, round cake,” per The Oxford Companion to Food, that dates back to the Middle Ages. The word is derived from the term galet, a disc-shaped pebble perfect for skipping. Colloquially, I refer to galettes of the apple variety as the “lazy apple pie.” It has also been deemed as “apple pizza” by dear boyfriend.
How to Make an Apple Galette
Prepare the dough — Don’t worry beautiful souls, making homemade dough is not as difficult as it seems. It only requires a few simple pantry ingredients: flour, butter, salt and sugar. First things first, take 1 stick of unsalted butter out of the fridge and chop it up into little bite-sized pieces. Toss those suckers into a plastic baggie and put them in the freezer (yes, freezer!) to chill while you work on the rest of the ingredients. You want cold, cold butter.
Next measure out your dry ingredients. Sift together the flour, salt and sugar into a large bowl. I pop the dry ingredients into the fridge for about 5-10 minutes to chill. Then remove the dry ingredients from the fridge and add in the cold butter. Cut in the butter into the dry ingredients (a pastry cutter would be the move, but I’m old school and used a fork). Disclaimer: you’ll have to put in a lil muscle power cutting in the butter. But don’t worry, it gets easier in the next step: pour the dough onto a clean table/counter and start kneading. Add 6 tablespoons of ice-cold water, doing so one at a time.
Your system: knead, ice, knead, ice, knead and repeat. Knead until the dough starts to clump together and you can form a small ball. Cover the dough with plastic wrap and refrigerate for at least 2 hours or overnight.
Prepare the filling — You guys, this part is seriously why I finally invested in an apple divider. Core and slice 3 Honeycrisp apples...or break out that handy-dandy apple divider to make the job easier. I like my slices to be fairly thin for a galette, about half of a centimeter thick. In a large bowl, toss the apples with the sugar, spices and vanilla. Aim to get that sugary, vanilla-y goodness all over those apples.
Assemble — Gotta save the best for last (wink wink). This is my favorite part, and the one where you can use your artistic discretion. Roll out the pie dough onto a lightly floured surface. No need to be a perfectionist and roll out a perfect circle (heck, roll it into a rectangle if you want!). I love the rustic, no-fuss approach this apple galette takes.
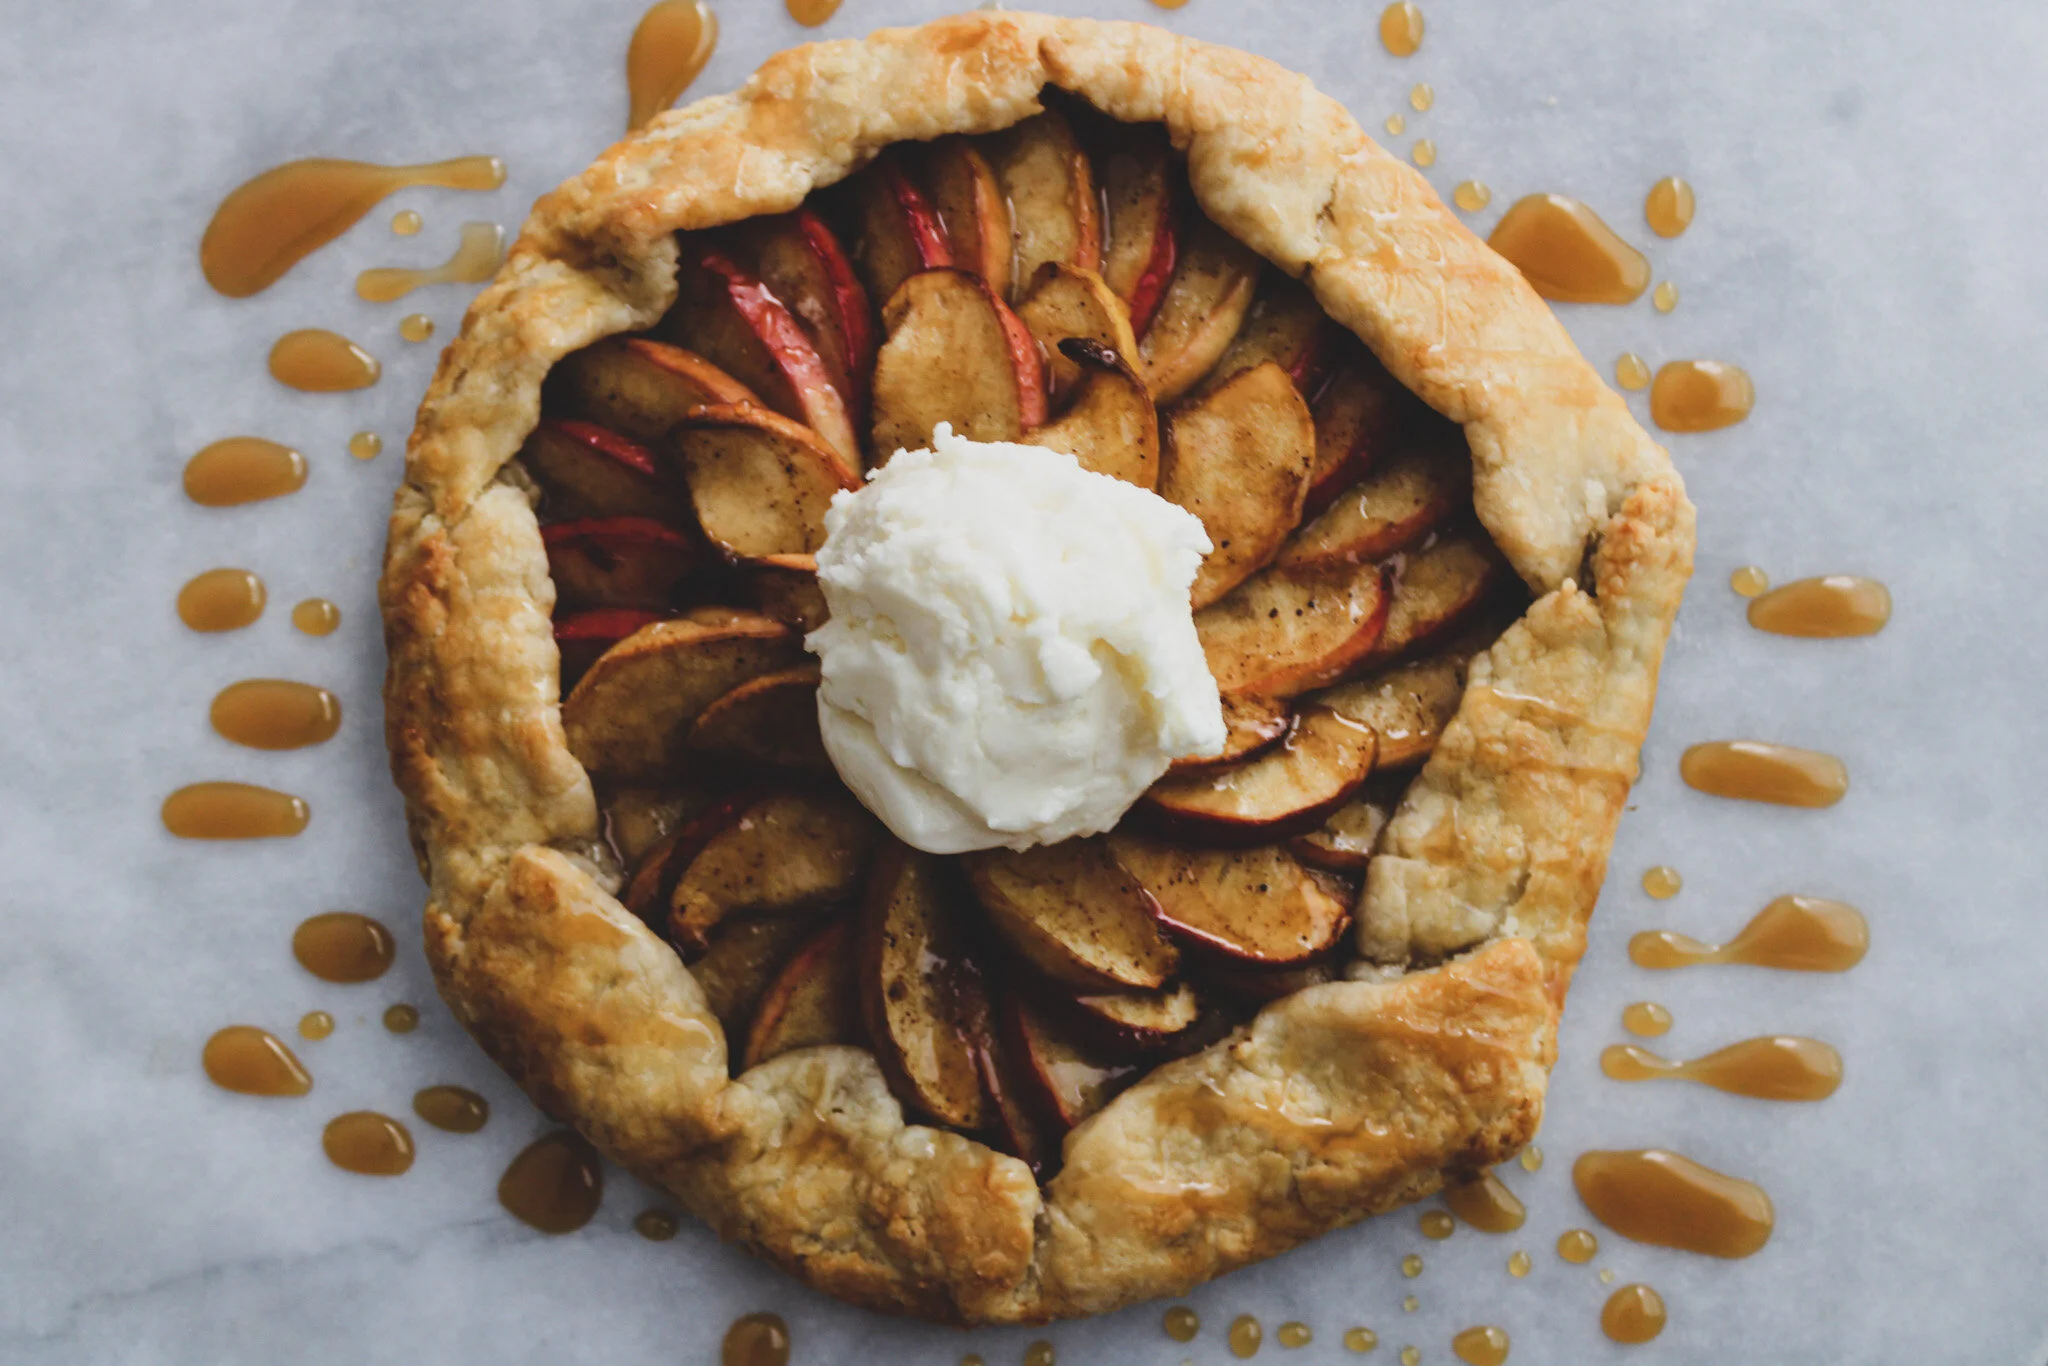
Leave a one-inch border around the dough and begin arranging your apples on top of it. I personally like to fan out my apples, letting them overlap in a ring. I typically have enough room to make 3 rings.
Then fold in the edges of your dough. I like to add little dollops of butter onto the apples before sliding the baking sheet into the oven. The butter will melt and make the filling taste even better.
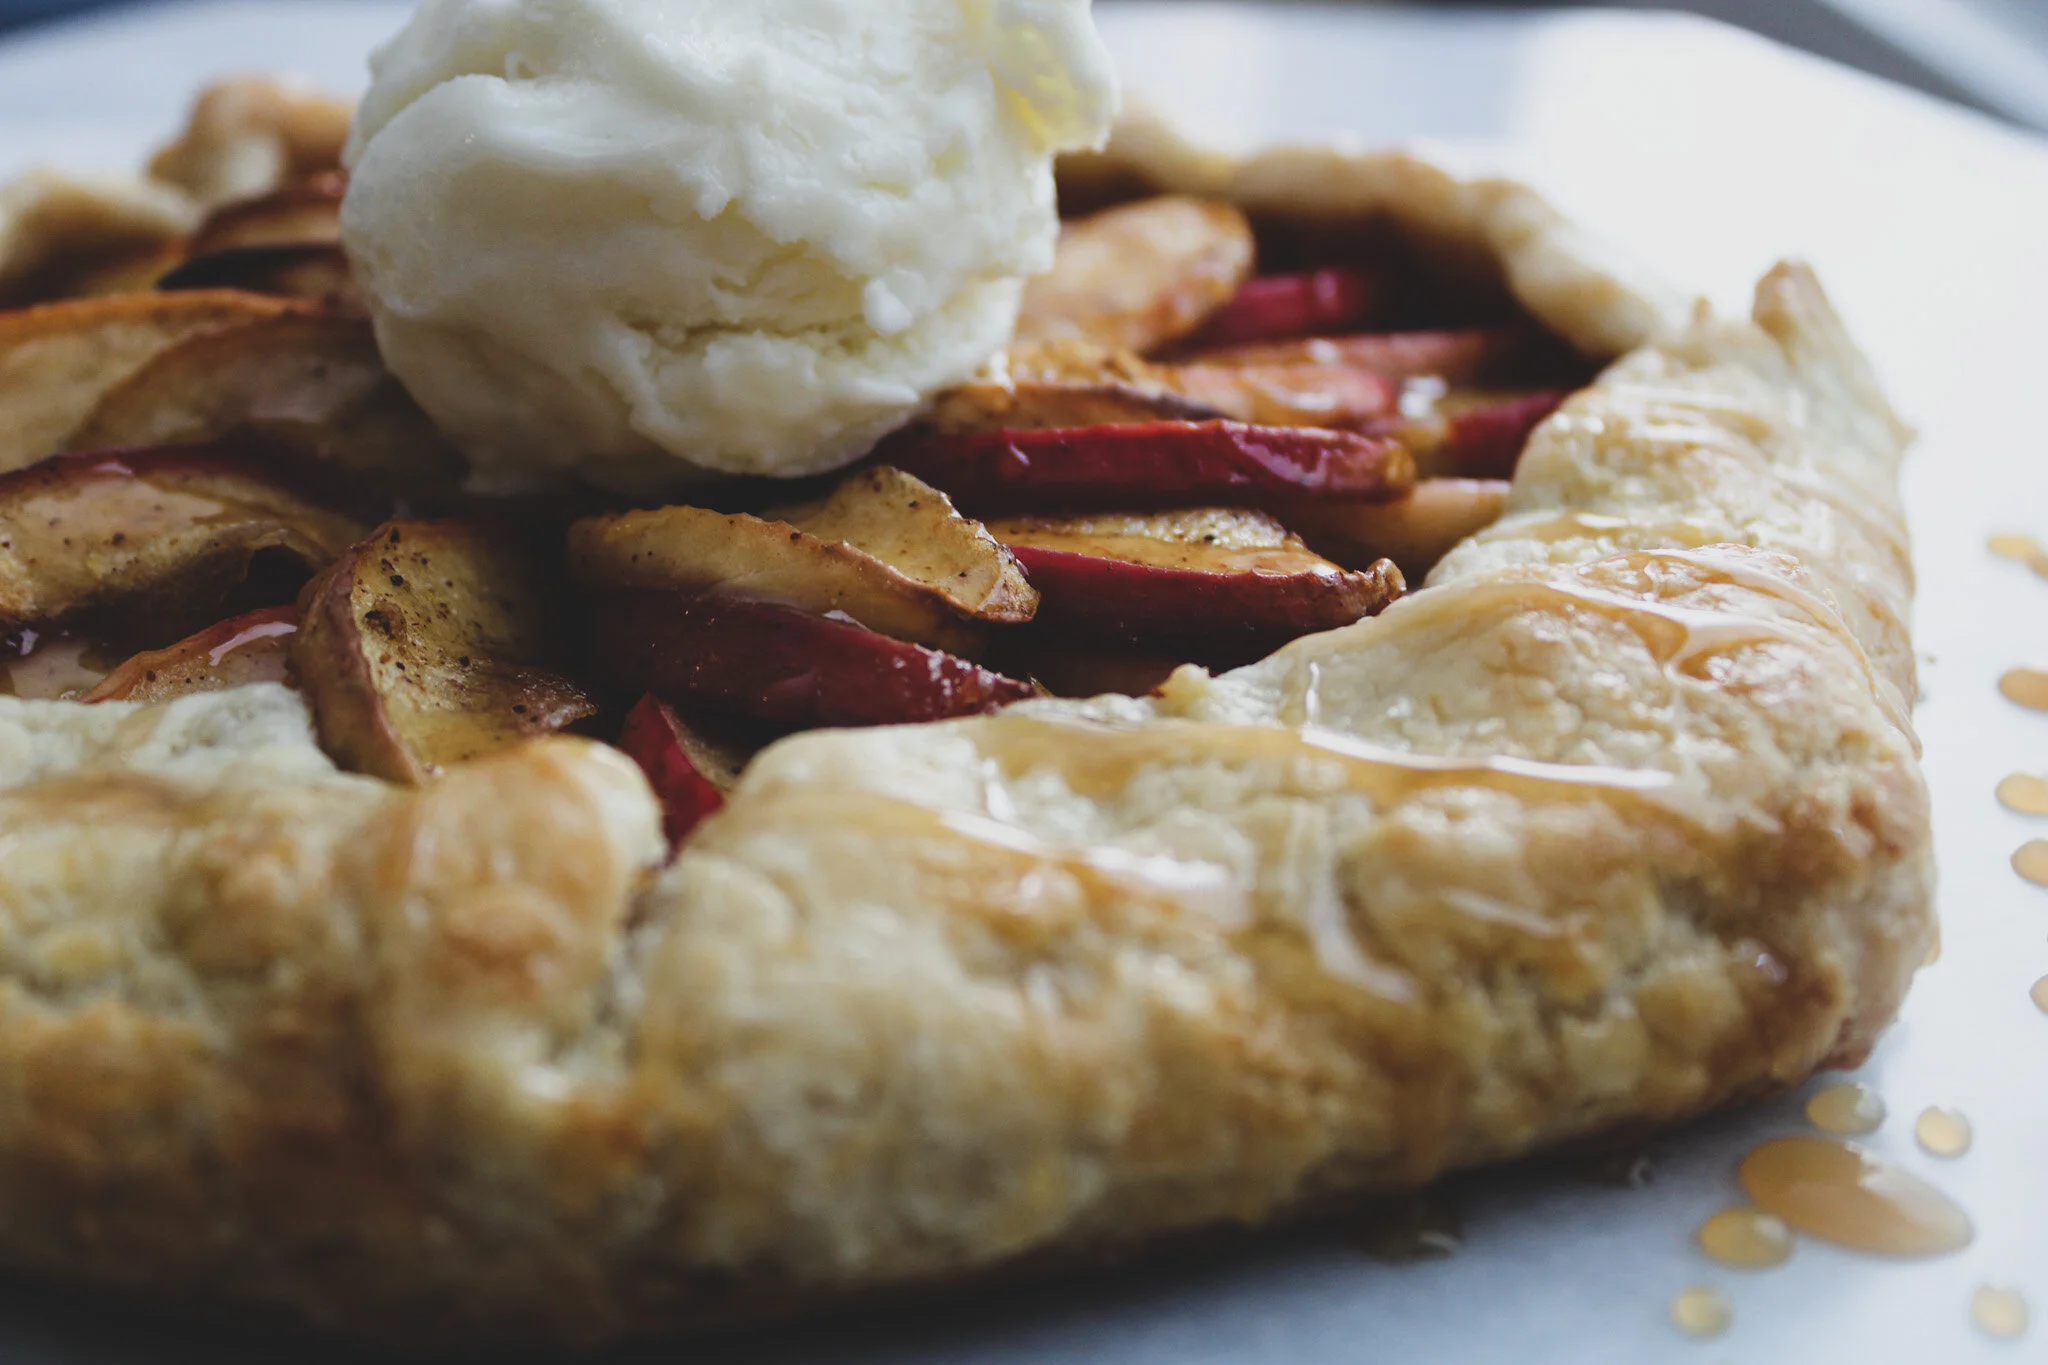
To get a beautiful golden crust, brush the dough with an egg wash (just whisk together one egg and a tablespoon of water) and sprinkle some granulated sugar on top. Pop the galette in a preheated 375℉ oven for approx. 40 minutes. Then viola. A flaky, buttery galette filled with tender cinnamon-sugar apples. Drizzle with some caramel sauce and serve with a side of vanilla ice cream. Delish.
I think I’ve found a new dessert to impress my dinner guests now.
Is this what baking heaven looks like?
Caramel Apple Galette
Ingredients:
- 1 ½ cups all-purpose flour
- 2 teaspoons granulated sugar
- ½ teaspoon salt
- ½ cup unsalted butter (1 stick), cut into small pieces
- 6 tablespoons ice-cold water
- 3 Honeycrisp apples
- ⅔ cup dark or light brown sugar
- 2 teaspoons cinnamon
- 1 teaspoon nutmeg
- ½ teaspoon cloves
- 1 teaspoon pure vanilla extract
- 2 tablespoons unsalted butter, cut into small pieces
- Pinch of salt
- Caramel sauce for drizzling
- 1 egg
- 1 tablespoon water
- Granulated sugar for sprinkling
Instructions:
- In a large bowl, shift and mix together the flour, sugar and salt. Pop in the fridge for approx. 30 minutes to chill.
- Take one stick of unsalted butter and chop into little pieces. Place the butter into a plastic bag and pop in the fridge alongside the dry ingredients. You want cold butter for the dough. For added measure, I like to transfer the butter to the freezer for 5-10 minutes before I combine it with the other ingredients in the next step.
- Take out the dry ingredients and the butter. "Cut in the butter" (fancy pastry term meaning incorporate) into the dry ingredient mixture. I like to add half of the ice-cold water (aka 3 tablespoons) as I do this, doing so one tablespoon at a time. The dough will be crumbly.
- Transfer the mixture onto a lightly floured work surface and knead. Add the remaining three tablespoons of ice-cold water as you knead. The dough should start coming together.
- Gather the dough into a ball and flatten into a disc. Cover with plastic.
- Refrigerate the dough for at least 2 hours.
- Preheat the oven to 375℉. Line a baking sheet with parchment paper.
- Core and slice three Honeycrisp apples. I like mine to be about ½ cm thick.
- In a large bowl, toss the sliced apples with the cinnamon, nutmeg, cloves and brown sugar. Add in the vanilla. Gently fold to coat the apples. Add a pinch of salt.
- On a lightly floured surface, roll out the pie dough into (roughly) a circle. You don’t have to be a perfectionist on this one! Transfer the rolled-out dough onto the prepared baking sheet.
- Fan out the apples on top of the dough. I usually make about 3 rings with the apple slices. Make sure to leave a 1-inch border around the galette. When finished arranging the apples, fold the edges around the apples.
- Make the egg wash by combining one beaten egg with a tablespoon of water. Brush the egg wash around the edges of the galette. Sprinkle granulated sugar over where you placed the egg wash.
- Add dollops of unsalted butter on top of the apples. It’ll melt and add a nice richness to the galette.
- Bake for 35-40 mins in the preheated oven or until the crust is golden brown and the apples are tender. Let cool for 10 minutes before slicing. Drizzle with caramel sauce and serve with a scoop of ice cream.


